

RC G1 Tactile Glove — Windows Setup
Step-by-step Windows setup for the RC G1 Tactile Glove: CH340 driver, G1 Companion App, USB serial and Bluetooth pairing, and your first CSV recording in 25 minutes.
A 25-minute install on Windows 8, 10, or 11. By the end you will have the CH340 driver installed, the G1 Companion App activated, the Data Acquisition Module streaming over USB serial and then Bluetooth, a CSV on disk, and the device registered against the RC Data Platform.
Tactile Sensing Total time: about 25 minutes Difficulty: Beginner Updated May 2026
Before you start
Power on the Data Acquisition Module. Short-press the button on the small black box. The LED lights solid red, then transitions to flashing blue once Bluetooth advertising is active (unpaired). Standby kicks in after 1 minute of no pressure input — press the button to wake it. Long-press to power off.
VPN warning. The Companion App contacts an activation server on first launch. Disconnect any VPN before launching the app or activation will fail.
The steps
Unbox and inventory
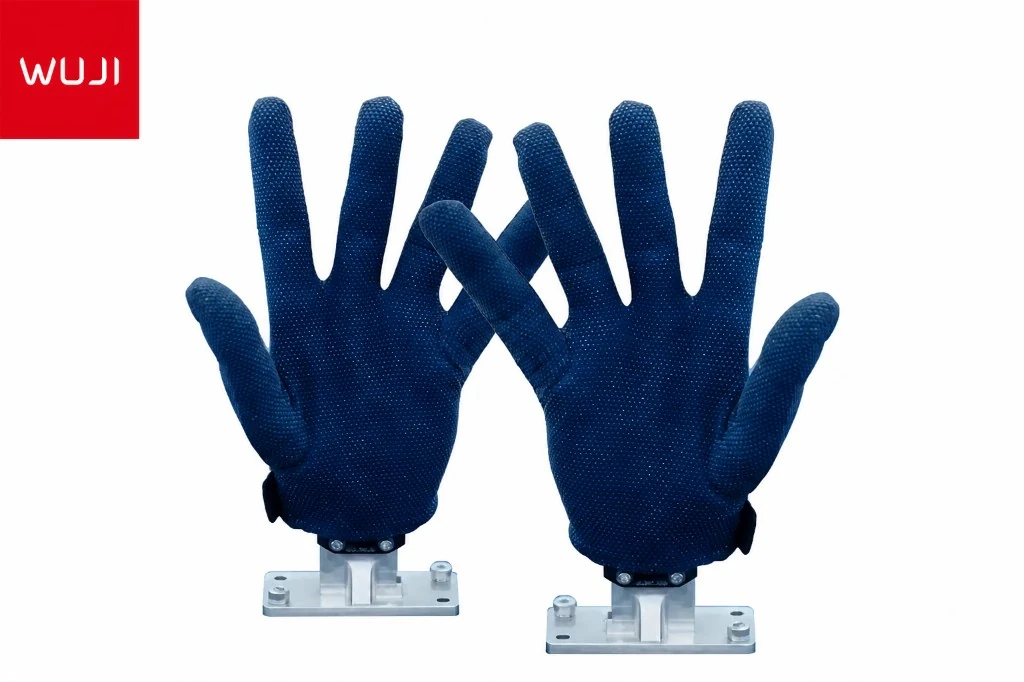
Verify all six components from the packing list: the glove (or pair), the Data Acquisition Module, the Bluetooth USB Dongle, the USB 3.0 to USB-C cable, the USB hub, and the fulfillment USB drive. If anything is missing, email support@roboticscenter.ai with your order number before continuing.
Charge the data acquisition module
Plug a USB-C cable into the module’s USB-C port; a solid white LED means it is charging. Full charge takes about one hour. Once full, you get roughly 3.75 hours of Bluetooth runtime per session. You can still use the module while it’s on the cable — charging and serial streaming work simultaneously.
Install the CH340 USB-serial driver
On the fulfillment USB drive, open the
JQ Tools for Windowsfolder and runPC USB Port Driver-CH341SER.EXE. Click INSTALL, wait for the popup that reads “Driver install success!”, then click OK. A reboot is not required.This driver is published by WCH / Nanjing Qinheng Microelectronics — it’s the same driver used by thousands of generic USB-to-serial adapters. It makes the USB-to-serial chip inside both the Bluetooth Receiver and the Data Acquisition Module visible to Windows as a virtual COM port.
Confirm it worked. Open Device Manager (Win+X → Device Manager) and expand Ports (COM & LPT). With the module plugged in over USB-C, you should see
USB-SERIAL CH340 (COMx)wherexis the assigned port number. Note that number — you’ll need it in step 5.Install the G1 Companion App
On the fulfillment USB drive, open the
Shroom-Windows版(含驱动)folder and runjq.exe(or the bundled installer if present). The app is portable — you can run it directly from any folder, no Program Files install needed.SmartScreen prompt. Windows Defender SmartScreen may warn “Windows protected your PC.” Click More info, then Run anyway. The binary is signed but not yet whitelisted by Microsoft’s reputation system.
First launch requires an internet connection for software-key activation. Ask your account manager for the key if you don’t have one in your order email. Do not use a VPN — the activation server geo-restricts and a VPN will cause silent activation failure. This is a known constraint of the included Companion App.
Connect via USB serial (recommended for first run)
Short-press the Data Acquisition Module’s button to power on; the LED lights solid red. Plug one end of the USB 3.0 to USB-C cable into your computer’s USB-A port and the other end into the module’s USB-C port.
In the Companion App, pick Serial mode, select the
COMxport you saw in Device Manager, set baud to921600, and click Connect:Mode: Serial Port: COM7 (whatever Device Manager shows) Baud: 921600 Action: ConnectLive pressure values should start streaming on the matrix view within 1 to 2 seconds. Wiggle a fingertip on the glove to confirm individual taxels change color. If you see flat zeros, see Troubleshooting below.
Switch to wireless (Bluetooth dongle)
Power-cycle the Data Acquisition Module: long-press the button until the LED goes off, then short-press once. The LED should now flash blue, meaning the module is advertising and waiting for a pair.
Plug the included Bluetooth USB Dongle into a USB-A port on your host. The dongle’s LED will flash red, meaning it is scanning. Back in the Companion App, switch mode to Bluetooth, pick the COM port the dongle enumerated as (a second CH340 port will appear in Device Manager), then click Pair. From the scan list, choose:
JQ-LH— Left Hand gloveJQ-RH— Right Hand glove
Solid blue on both the dongle and the data module means paired and streaming. Sampling drops to 30 Hz wireless vs 100 Hz wired — both are normal; the difference is bandwidth headroom on the Bluetooth link.
Record your first CSV
With a live stream visible, click Start Recording in the Companion App, perform a 10-second grasp gesture (e.g. pick up a coffee mug and set it down), then click Stop. The CSV saves to:
%USERPROFILE%\Documents\JQTools\records\
e.g. C:\Users\you\Documents\JQTools\records\2026-05-23_14-32-08_LH.csv
Each row contains 162 pressure values, plus 3-axis gyro, 3-axis accel, a quaternion (w, x, y, z), and a host-clock timestamp. The filename embeds the date, time, and
LH/RHhand tag so you can sort large recording sessions later.Verify integration with the RC Data Platform
Open platform.roboticscenter.ai (or your private instance), go to Devices → Add Device, pick RC G1 Tactile Glove from the catalog, and enter the COM port the module is currently on. The stream should go live in under 5 seconds.
Before you record demonstrations, tag the session with the Operator and Task ID fields. These propagate into the dataset metadata and make the recordings queryable later when you want to train a policy on just one operator or one task.
Troubleshooting
COM port doesn’t appear in Device Manager
The CH340 driver didn’t bind. Unplug the cable, re-run PC USB Port Driver-CH341SER.EXE, click UNINSTALL, then INSTALL again. Replug. If still missing, try a different USB-A port (some front-panel ports on desktops are unpowered hubs) and a known-good USB-C cable — some charge-only cables don’t carry data.
“Driver install failed”
Right-click PC USB Port Driver-CH341SER.EXE and choose Run as administrator. On corporate-managed Windows, your IT may block unsigned driver installs — ask them to allow the WCH CH34x driver or run from a personal machine.
Bluetooth dongle stays solid red
Solid red on the dongle means “communication abnormal.” Unplug the dongle, wait 5 seconds, plug it back in. If still solid red, the dongle and module have drifted out of pairing — long-press the module button until the LED goes off, short-press to advertise (flashing blue), then re-pair in the app.
Module powers down after one minute
Expected behavior. The module enters standby after 1 minute with no pressure input on the glove. Press the button to wake it, or just touch the glove. For long idle sessions during data collection, leave the glove flat on the table with a light weight on the palm so the pressure trigger fires periodically.
Activation refused / hangs on launch
Almost always a VPN. Disable any VPN client, disconnect from any corporate proxy, then relaunch the Companion App. If you still see “Activation failed”, email your account manager with the activation error code shown on screen.
Flat zeros on the matrix view after Connect
The host opened the COM port but the glove harness isn’t seated. Power off the module, reseat the glove’s ribbon connector into the data module, power on, and reconnect. Also confirm the module is at >20% battery — very low battery can produce all-zero frames before auto-shutdown.